Beets & Blueberry baby food

20131011-175753.jpg

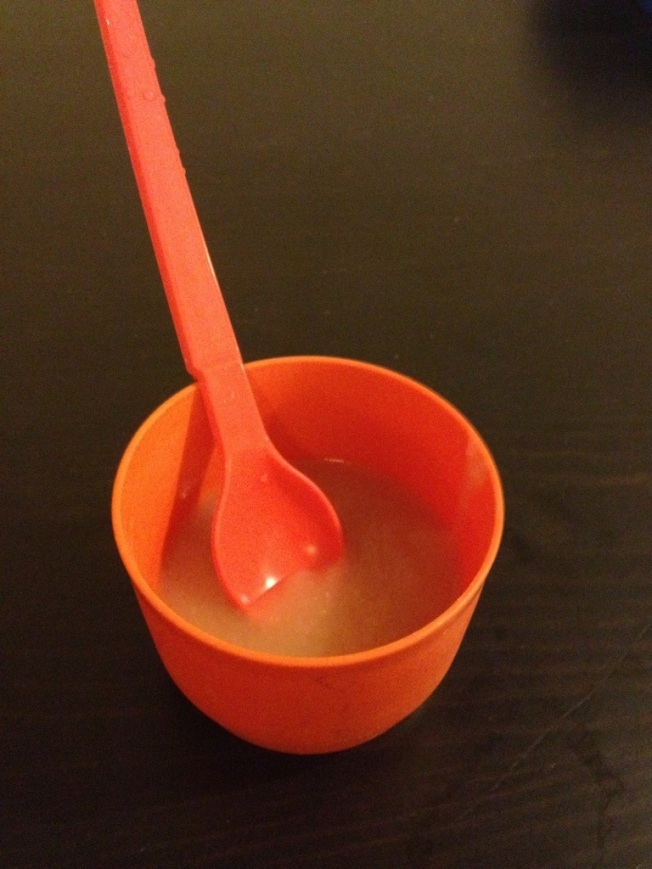
This recipe is Fiamma’s favorite! I know, a baby who loves beets and hates pears an apples! Weird but true.

Ingredients:
1 small beet
1 large banana
1/2 cup blueberries

20131011-175902.jpg

Combine all ingredients, washed and beet peeled in your babycook or a sauce pan. The babycook needs level 2 for water and if you have a pan, add about a 1/4 cup of water.

T

20131011-180022.jpg

The babycook light will go off when done! So awesome, I really can’t get enough of this machine!

20131011-180058.jpg

If you have a pan, cover and cook for about 20 minutes. Then purée the mix smooth in your blender or babycook!

Serve right away or freeze up to 3 weeks!

20131011-180214.jpg

I love the color and flavor, wear a bib for sure and enjoy!!!!

Green baby food

20130811-180428.jpg

Ingredients:

1/4 cup peas
1 cup fresh spinach
1/2 pear
1/2 cup broccoli florets

Wash and prep all your items. Use your babycook or your saucepan!

If using a saucepan, add 1/4 cup of water, cover pot and cook about 10-15 minutes.

For the babycook, use the water level # 3. Steam the items together in the basket.

You can purée the cooked mixture in the babycook or your food processor.

Make sure it’s smoother for smaller babies by adding more liquid. Leave it chunkier for older babies.

This recipe is great to introduce your baby to green veggies. It’s tasty and still a bit sweet from the pear.

20130811-181719.jpg

Eat fresh or put on freezer trays and freeze up to a month.

Enjoy!

Root vegetable baby food recipe

20130804-210950.jpg

Ingredients:

1 small sweet potato
1 small parsnip
2 small carrots

Makes about 15 servings

Wash peel an chop your items! I buy organic for my baby. I want her to get the best most nutrient rich food and defiantly no chemicals and GMOs for my bunny!

20130804-211139.jpg

I have the Baeba babycook but you can use a pot too, or the baby bullet is another new product. There are so many mommy items it’s just crazy!

If you are using a pan, add about a cup of water, cover and let cook for about 10-15 minutes until the veggies slide off a fork.

The babycook recommends level 3 water for the steamer. Just put in the veggies and turn it on. After its done cooking, pop in your blender Or back in the babycook blender and purée until smooth. Add more water to thin out for little babies, or leave chunky for older tots.

20130804-211526.jpg

You can serve right away, which is best, or freeze. It will e good for about 3 weeks. I just used classic ice cube trays. I have the Baeba tray too, but it freezes larger portions.

20130804-211638.jpg

Just defrost as needed! For babies 6-8 months like my baby, it’s recommended around 2-3 feedings a day. Talk with your doctor for your specific needs, but try a fruit and a veggie dish! Babies like variety.

Enjoy!

Apple Pear Baby Food

20130731-191945.jpg

Ingredients:
1 apple peeled and cored
1 pear peeled and cored
Pinch cinnamon

20130731-192128.jpg

Wash and chop the fruit. I used organic gala apples because they are sweet and a pear d’anjou, which is also sweeter.
Chop the fruit into cubes. It doesn’t matter how clean the chop but the more similar the chunks the more evenly it will cook.

20130731-192503.jpg

I have a Beaba babycook. I just started using it and it is amazing. It’s so easy to use. It steams, blends, and defrosts. It has easy to follow instructions. I will do a post on this product as a review soon!
But not to worry you can use a saucepan if you don’t have one.

Put the chopped items into the steam basket or into the saucepan. Add the pinch of cinnamon.

Turn on the machine until the light goes out, or cook in the pan for about 10 minutes until the fruit is translucent and falls from a fork.

Next, take the cooked fruit and put into your blender. If you have the babycook, just remove the steam basket and put back into the blender chamber.

Pulse the fruit until smooth. For younger babies you can keep the extra liquid that has run off or add more water to make it smoother. Mine was quite runny as Fiamma is 6 months. Drain off the liquid or leave a bit chunky for older babies.

20130731-192942.jpg

This recipe makes 5-6 servings and Is perfect to freeze. I have a babea freezer tray, but I use ice cube trays too. Be sure to cover the tray in a wrap before freezing.

20130731-193057.jpg

It should last about 3 week in the freezer. Then just defrost and reheat as needed. It’s a yummy easy recipe that most all babies love.

If your starting out like me, give new foods every 3 days to test for allergies. And keep in mind babies haven’t tasted food before, and like more than our average bland foods, so experiment and don’t be afraid!

The beauty of making your own is you can use whatever you are making for yourself, so it’s easy and practical for busy moms. This recipe cost under 3 dollars for 6 servings. That’s compared to 3$ a jar for some high end foods. And you know exactly what’s inside this way!

I will be posting a lot of these soon!
Hope your baby and you both enjoy!

Wet bag tutorial

20130717-194017.jpg

Hi everyone! Today I made two zippered diaper bags for Fiamma. It was really easy and I’ve shared the link below for the video tutorial I used. These bags are cute travel laundry bags and are waterproof!

You will need a yard of PUL fabric and a yard of your favorite patterned fabric plus one zipper and thread.

20130717-194054.jpg

These bags are great for the pool or for cloth diapering on the go. Just put the dirty diapers in the waterproof bag and you’re good to go!

The other bag I posted about in my earlier blog is for a pail.
You can also use this bag for wet clothes or wipes. I made one large and one medium with leftover fabrics I had. So I only purchased the PUL from Joannes for 10$ an the zippers for 2$. All together each bag costs about 4$ to make!

The video link is great because the woman isn’t a professional sewer and anyone can make these bags!

Find the link here

Enjoy!

Diaper Pail Liner DIY

20130711-185457.jpg

What you will need:

1 yard of PUL fabric
Sewing machine
Thread
Scissors or fabric cutter
Mat for fabric cutter
1/2 inch elastic band

I love to create things and do little projects! I grew up helping my dad fix things and make things. Anything that broke in the house, we just fixed it. Not like today where people don’t know how to use tools or even see a hem!

If you don’t know how to sew, it’s really easy to learn. There are lots of classes around and it’s a fun hobby and technique to have under your belt.

This bag can be used for cloth diapers as well a for wet clothes or as a hamper or even as a general pale liner for your garbage. If you don’t have a baby it would work really well as a swim suit laundry bag! They are available online from companies like planet wise, and I actually have one of theirs which I love! But I saw this fabric and wanted to make another.

20130711-190315.jpg

making your bag:

Lay out your fabric pattern side down. Measure the piece 54″ across and 28″ tall an trim to these dimensions using your scissor or cutter.

20130711-190802.jpg

20130711-190836.jpg

Next, fold the fabric lengthwise pattern sides together. Pin up the open edges. You should have two of the three open sides pinned. These will be your bags side and bottom.

20130711-191212.jpg

Sew these pinned sides leaving about 1/2 inch seam. I went back and sewed an additional zig zag stitch against the original stitch to re-enforce the seams.

20130711-191259.jpg

Next you will trim the extra fabric away from your stitches leaving about 1/4 inch of fabric.

putting in elastic:

This step is pretty simple. Take your elastic and measure a piece about 34″ long. Put a safety pin in one end an set aside.

Take your bag, which is still inside out and fold the top half down about 3/4 of an inch and pin around the edge. Stitch this seam closed with your machine but make sure you leave a one inch hole; don’t close the seam completely!

20130711-191810.jpg

Now take the safety pin edge of the elastic and thread it through your seam. Use the safety pin like a needle and push it all the way around the top. Make sure the tail end stays out. When the pin comes through to the other end, join it to the tail end. Overlap the ends about one inch and sew them together. This will form a circle with your elastic, and when you release it it will disappear into your sewn seam! Then go back in and close that little hole that you left open in the seam!

20130711-192351.jpg

20130711-192417.jpg

That’s it! Turn the bag right side out an use in any pail! You can wash it in a machine on a warm/cold cycle and line dry.

I love cloth diapering. It’s so easy and there area lot of really cute items out there, but I couldn’t resist the dinos!! For my blog on cloth diapers see here.

Enjoy your bag and cloth diaper!

Aromatherapy

20130708-175825.jpg

Ingredients for steam bath:
Large bowl
Hot boiling water
3 drops Bergamot
3 drops lavender
2 drops eucalyptus
2 drops tea tree oil
1 towel

Ingredients for scrub:
1 cup sugar
1/2 cup olive oil or coconut oil
12 drops grapefruit oil
4 drops lemon oil

Small jar or container

20130708-182413.jpg

Fiamma has a cough today that I hope isn’t turning into a cold! It’s so hot and the fan and air conditioner is on, my doctor said to keep her cool, I hope it’s not the cough culprit!

One thing I do for myself when I don’t feel well is aromatherapy! That’s the use of natural herbs and fragrance used with oils or scrubs to heal your body.

For coughs there are a few oils that work well. Coughs can be dry and irritating and mucus can get stuck in your throat.

The first thing to do would be to rub aloe on your throat. Take a piece of fresh aloe Vera, a cactus plant, an heat it over a low flame. Use a knife and cut it open to heat the natural gel inside. Rub until absorbed and then cover your neck with a warm cloth. Reapply as needed, a few times a day.

20130708-182853.jpg
Aloe Vera stalk

For the oils, you can use benzoin, bergamot, sandalwood, myrtle or thyme, all of which have qualities that help to expel mucus.

You can use them in the bath, in a humidifier, or over a candle in a dispenser. The best way for a cold, flu or chest issue is a steam bath.

20130708-182549.jpg
Oil defuser

20130708-182338.jpg

I made my own recipe for the baby using bergamot, eucalyptus, lavender, and tea tree oil.

20130708-182259.jpg

Bergamot is a citrus and comes from Italy. It is an antiseptic among other things and is good for anxiety, urinary infections, and also for calming and cheering. It is often used in skin care products and lotions and to treat oily skin.

20130708-182217.jpg

Lavender is a bushy shrub found in France, morocco, Spain, and Hungary. It has a fresh clean scent and can be used as an antiviral, antiseptic, and sedative. It’s the most popular oil and is soothing and relaxing. It can help with sleep, pms, and depression. Best used in steam form, avoid in early pregnancy.

steam bath:
Heat water to a boil in a pot or tea pot. Put the drops of oil in your large bowl. Once the water has reached a boil pour over the oils and immediately put the towel over your head and your head over the bowl. The steam should start to reach your face and your head/bowl should be completely covered by the towel. Stay under for about 10 minutes.

For the baby, I put the oils in the sink and ran very hot water. I sat with her in the closed bathroom for a few minutes as the steam and scent permeated the room.

Later I’m going to put this in her humidifier for bedtime.

While I was at it I made a sugar scrub for me!!! 🙂

It’s so much better to make your own. It’s cheaper, and great for shaving. I never cut or have razor burn after using it. I made a refreshing citrus to energize my mornings.

20130708-182459.jpg

Just combine the sugar, oil, and scent and mix well. You can even add food coloring if you like. Put in a small jar and voila! Sugar scrub! I made a few as gifts this year with peppermint and almond. I put a bow on an labeled it. I think it makes a great personal gift for holidays or just as a thank you!
Enjoy and stay healthy!

20130708-182733.jpg